USB web interface
To access the rm files from a web browser you need to enable usb web interface via:
Settings -> Storage -> USB web interface
This will also be used to SSH into the device but mainly its for transferring files under 100mb to the device. See below for a script to transfer files offline to the rm with no size limit.
SSH
Thankfully the remarkable is one of few devices that makes it relatively easy to obtain root access via SSH. To find your password go to:
Settings -> General -> Help -> About -> Copyrights & Licenses -> General Information
Your SSH password should be at the bottom of the page highlighted in bold. Write this down incase you can’t access this screen for whatever reason. This password should not change when updating.
Customization
Please note these customizations are not guaranteed to survive an OS update so make sure to make a backup for swift recovery if required.
Sleep/Power screen:
A popular method of customizing the rm is the sleep and or power staye screens. These can be found at:
/usr/share/remarkable/
To make your own make sure to reformat your design to 1401 x 1872 resolution and export as a png. See these examples: Dark and Light. I would recommend transferring these via scp:
bash
Auto sleep time
The default sleep time of 20 mins for me at least was a bit too long so to change that value modify:
/home/root/.config/remarkable/xochitl.conf
under the [General] section add the following lines, or replace if they already exist:
bash
These are the default values (in milliseconds). Remember to restart xochitl in order to see the changes:
bash
Templates
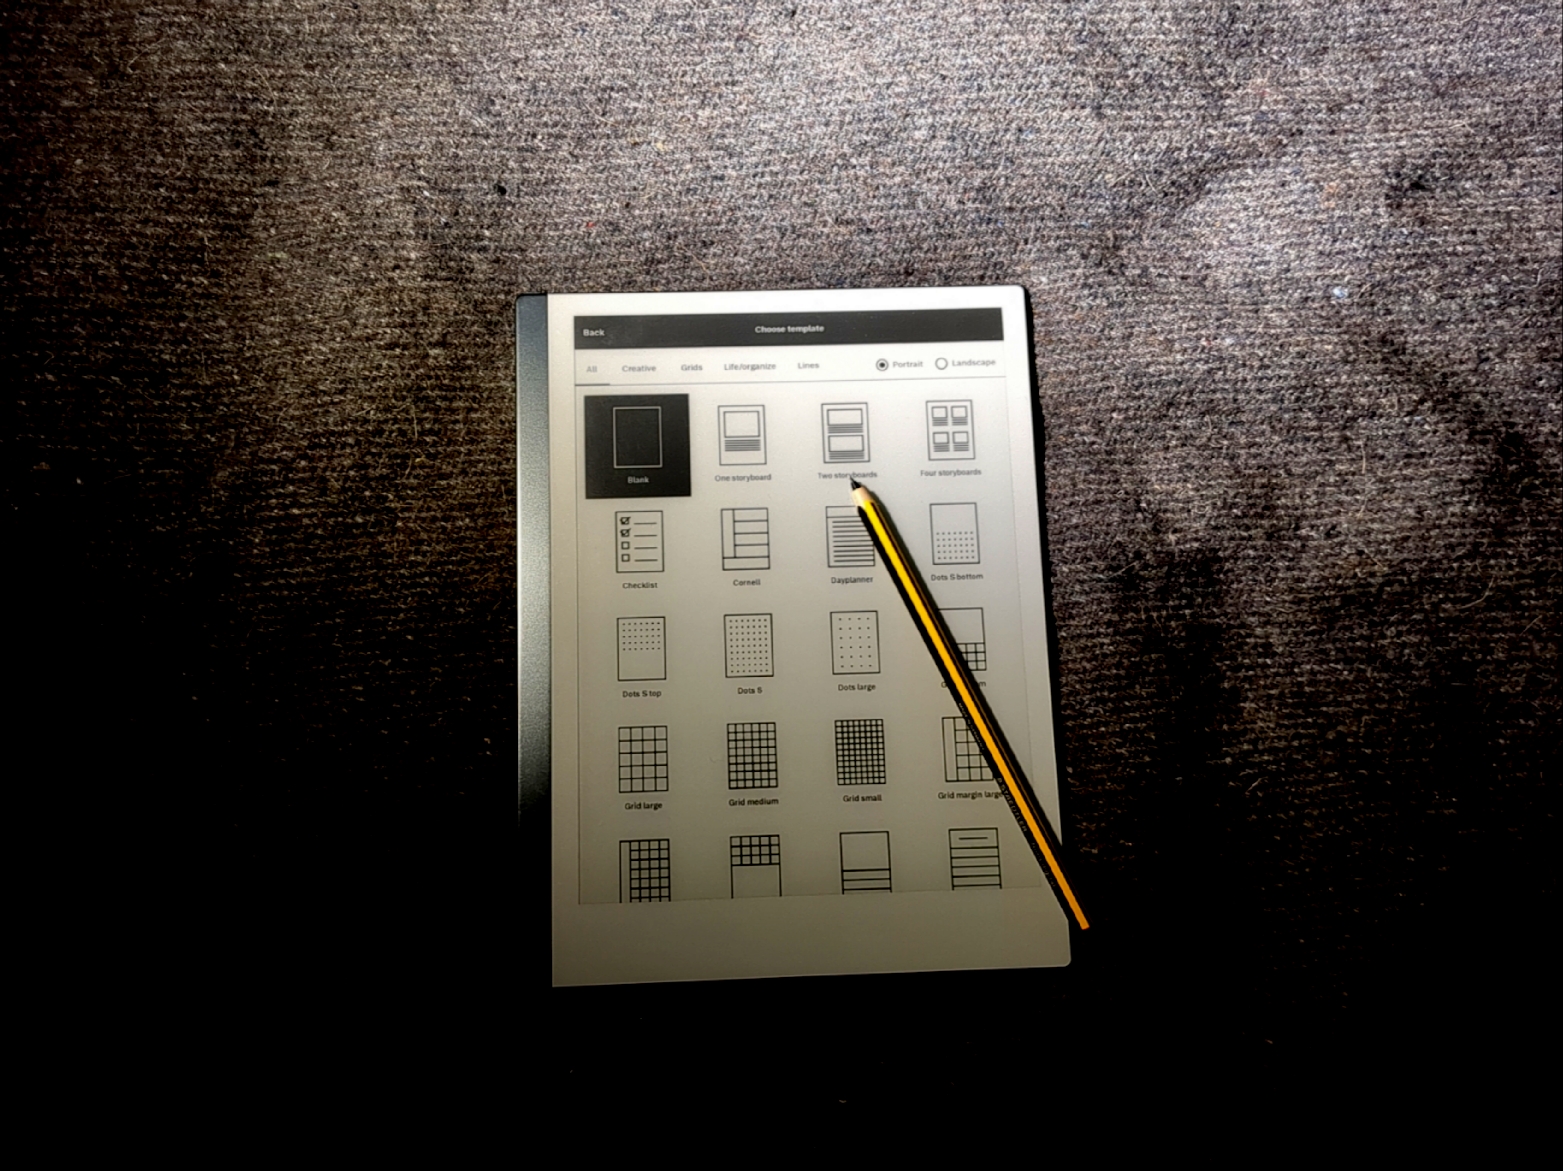
There is technically two ways of going about this: A. the cheaty pdf method, this is the most common style template you will find online but isnt really a template as it consists of a blank pdf designed moved to the main xochitl storage. Then there is B. importing a template png with the correct metadata in order to be correctly recognized. By default the templates should be located at:
/usr/share/remarkable/templates
Unfortunately unlike the sleep state screens there is extra metadata required to be appended to the templates.json file in order for the template to be recognized. The five required fields per template:
bash
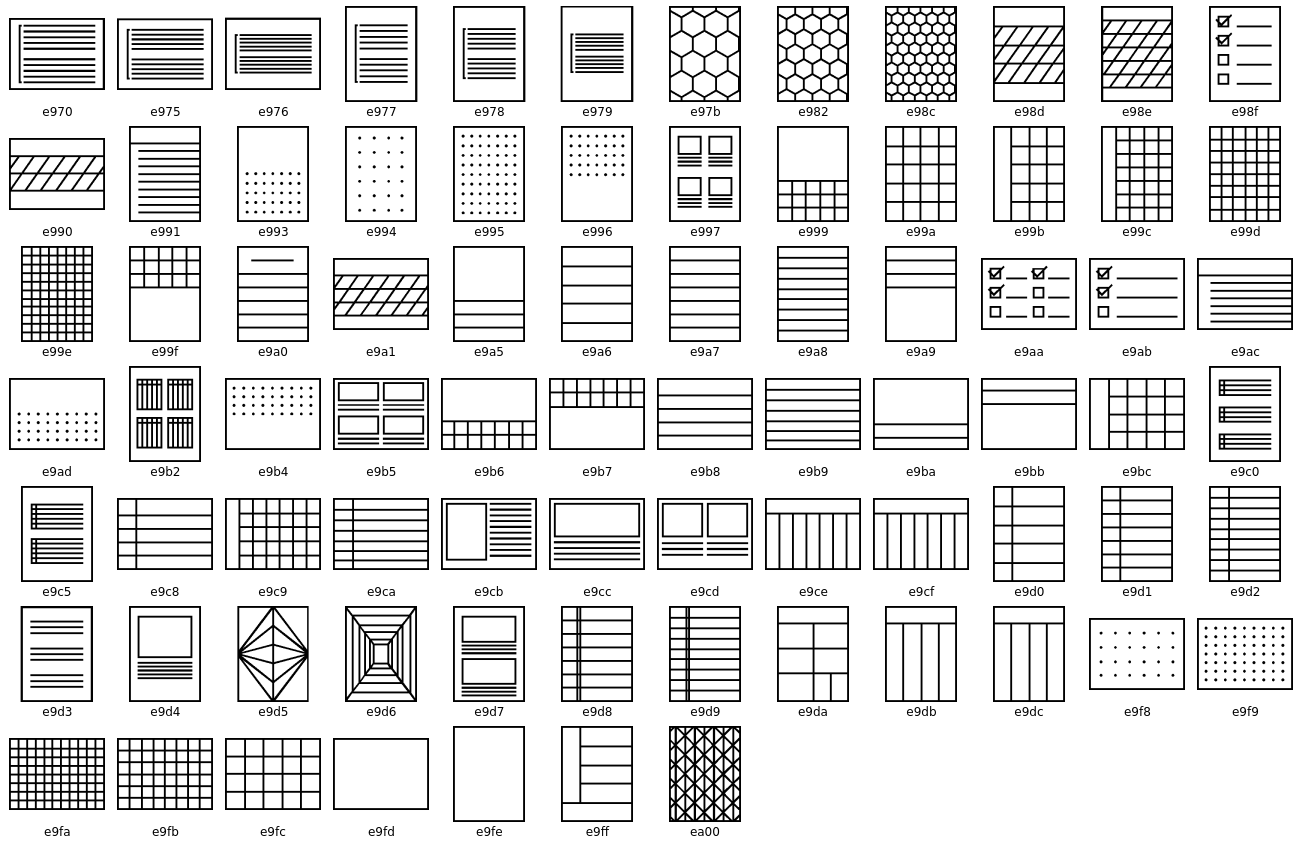
Here is a list of valid icon codes:

Downgrad OS version
As Toltec requires very specific OS versioning it may be required to downgrade to a previous version. Ever since rmOS 3.11 a change in boot flashing now requires manual flashing via the command line utility dd so extra care should be taken before hitting enter on your commands to prevent accidental damage. For this you will require a computer, for this I will be using linux but adapt the following commands if you are on Windows or MacOS.
Download the utility codexctl from the git repo:
bash
Download the wanted OS version to downgrade to:
bash
When that has finished downloading extract the image (remember tab complete is your best friend):
bash
Move the extracted files to the rm2 root partition:
bash
SSH into the rm2 (see above):
bash
Navigate to the root partition and find the active partition:
bash
The first command moves to the root partition and finds the curent used disk, the second command finds the active partition. Make sure to double check the fallback partition:
bash
Now we need to flash the extracted image to the fallback partition we just found (in the example above it would be partition 4 so we would flash /dev/mmcblk2p4):
bash
Finally exit SSH and swap the active partition:
bash
If everything went well after you reboot the rm you should now see the selected os version.
settings -> General -> Software Information
Toltec package manager
To be able to install packages you need to install a package manager, in this case it would be toltec. As touched upon above toltec requires specific OS versions, as of writing this is from 2.6.1.71 to 3.3.2.1666, due to frame buffer issues. To install run the following commands after SSHing into the rm:
bash
From here you can use opkg to manage packages. Remember to update and upgrade before installing any packages. It is recommended to disable auto-updates till toltec supports a more recent rmOS version.
KOReader ebook reader
Ko is a third party ebook and manga/comic reader optimized for e-ink devices like the rm2. The nice thing about ko is compared to stock xochitl it has a lot more features included like rss, calibre, wallbang and Wikipedia. In order to install there are a few more steps than just installing ko. First we need a method to open and write to the framebuffer. This allows rm1 apps to seemlessly run on rm2.
bash
Next a method for launching and interacting with third party apps. There are two main launchers for this purpose: Remux and Oxide. Both function the same however Remux is more discreet and minimal thus fitting in more with the remarkable philosophy.
bash
If Remux is working correctly you should be able to launch it by swiping up from the bottom right corner of the screen. At the moment the launcher should be empty besides the current remarkable session as we have to manually add third party apps.
bash
Create a file at /home/root/.config/02-koreader with the following contents:
bash
Hit ctrl + s and ctrl + x to save and exit the file. Nano text editor should be installed by default on the rm2 but if not use another one. With that now Ko should be in the remux launcher. If you are installing more third party apps repeat the same steps to add to the launcher.
Updating without using remarkable servers
In order to force update the rm2 without using the official servers the remarkable-update utility needs to be utilized:
bash
Obtain the signed update as seen above and move to working directory. Launch the fake update server:
bash
SSH into the remarkable device:
bash
Add the local fake update server started above:
bash
Finally run an automatic update
Third party pens
Besides the official rm marker and rmpro marker there are many third party pens compatible with the rm2. Some notable ones include:
LAMY AL-star EMR
Length: 139mm
Weight: 24g
Accuracy: 9/10
Comfort: 9/10
Writing feel: 9/10
Value: 8/10
Nibs: official + third party
Eraser: technically
Material: aluminum

Noris Digital Jumbo
Length: 140mm
Weight: 10g
Accuracy: 8/10
Comfort: 7/10
Writing feel: 8/10
Value: 7/10
Nibs: third party only
Eraser: no
Material: wood

Noris Digital Classic
Length: 175mm
Weight: 8.7g
Accuracy: 8/10
Comfort: 8/10
Writing feel: 8/10
Value: 9/10
Nibs: third party only
Eraser: no
Material: wood

Reading manga and comics
There are two main ways of reading manga and comics on the remarkable. One is KOReader as mentioned above and the other is utilizing KCC (kindle comic converter). KCC is a python utility with a gui for converting cbz and othet formats to pdf and epub that can be natively read on the rm2. To use it set the device to Generic and the resolution to 1401 x 1872. Play around with refitting and borders till you find something that you prefer.
Moving files with ssh

Rm2mv is a simple utility to move files to remarkable devices that are above 100mb and thus can’t be moved via the built in web usb transfer. This is still a work in progress
Custom file convertion and sync
This is still a work in progress, I will update this section in a couple of days.
